

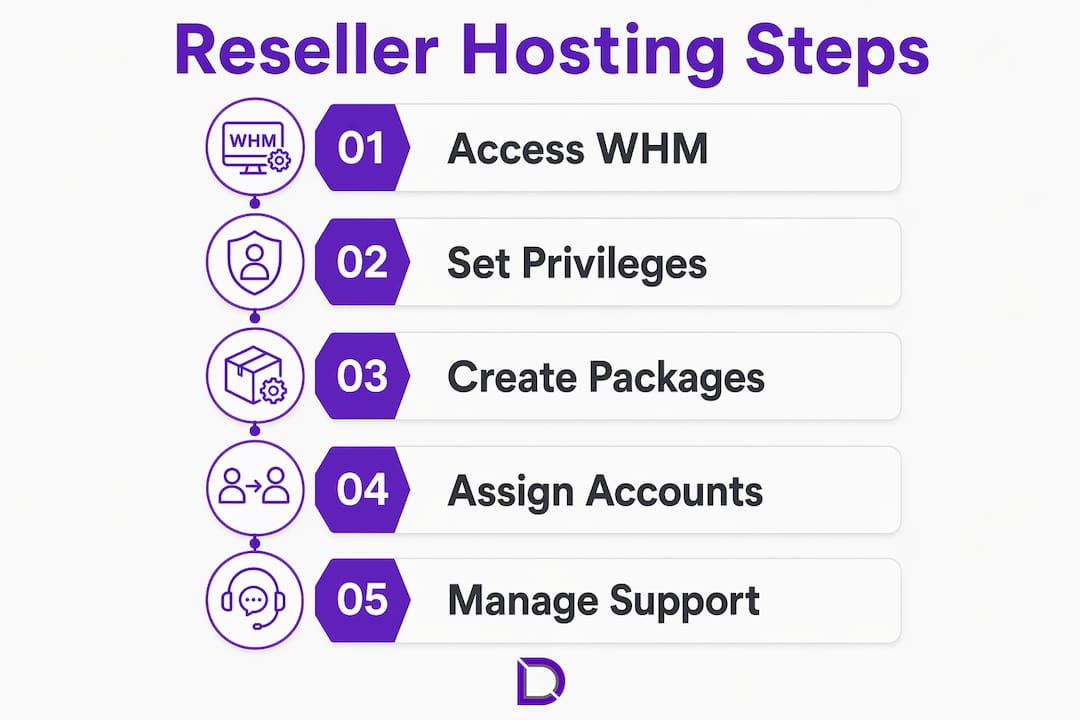
Managing a web hosting reseller account means controlling client hosting environments through WHM (WebHost Manager) and cPanel without holding full root server access. These two interfaces form the backbone of reseller hosting management, giving you the power to create accounts, allocate resources, and support clients under your own brand. The gap between a profitable reseller operation and a frustrating one usually comes down to how well you understand your tools, configure your privileges, and protect your infrastructure. This guide covers every layer of that process, from initial setup through to security hardening.
Which tools and interfaces are essential for managing a reseller account?
Reseller accounts use a limited WHM interface where privileges are controlled through WHM’s Reseller Centre. This is the operational hub for anyone looking to manage reseller hosting effectively. You access two distinct environments: WHM for administrative control over client accounts, and cPanel for managing individual sites within those accounts.
WHM includes modules across several functional areas that resellers rely on daily. Understanding what each module does prevents costly mistakes and speeds up routine tasks considerably.
The core WHM modules you will use most often include:
- Account Functions: Create, modify, suspend, and terminate client accounts
- Packages: Define resource bundles (disk, bandwidth, email) and assign them to new accounts
- DNS Functions: Manage zone files, add or remove DNS records for client domains
- SSL/TLS: Install and manage certificates for client sites
- Support: Access ticket systems and log files when troubleshooting client issues
Beyond WHM, cPanel gives you direct access to a client’s hosting environment. This is where you deploy files, configure databases, set up email accounts, and verify that a site is running correctly. If you want a practical walkthrough of deploying a site via cPanel, that process maps directly onto the reseller workflow for onboarding new clients.
| Interface | Primary use | Who accesses it |
|---|---|---|
| WHM (Reseller Centre) | Account creation, package management, privilege control | Reseller (you) |
| cPanel | Site files, email, databases, SSL for individual accounts | Reseller and clients |
| DNS Zone Editor | Domain records, nameserver configuration | Reseller |
| SSL/TLS Manager | Certificate installation and renewal | Reseller |
Understanding what a hosting control panel actually does at a technical level makes every task in this list faster and less error prone.
How do you configure reseller privileges to optimise control and security?
Privilege configuration is where most resellers either set themselves up for smooth operations or create serious security gaps. WHM organises reseller privileges into four categories: Standard, Package, Global, and Super Privileges. Each layer grants progressively broader access, and the decision about how much access to grant should be deliberate, not default.
Here is how to approach privilege configuration step by step:
- Open WHM and navigate to Resellers. Select “Edit Reseller Nameservers and Privileges” for the account you want to configure.
- Review Standard Privileges first. These cover account creation, suspension, and basic DNS management. Most resellers need these and nothing more.
- Assess Package Privileges. These control which hosting packages a reseller can assign to clients. Restrict this to packages you have specifically designed for that reseller’s tier.
- Treat Global Privileges with caution. Global privileges allow a reseller to manage accounts beyond their own client base, which is rarely appropriate for a small operation.
- Never enable Super Privileges unless absolutely necessary. Enabling the “All Features” setting overrides resource limits and exposes server-wide accounts. This is the single most dangerous configuration choice in WHM reseller management.
Pro Tip: Set resource limits per client package before you create any accounts. Changing limits after accounts are live can cause service interruptions and confuse clients about what they were sold.
The principle behind cPanel’s design is intentional constraint. cPanel limits reseller privileges to enable control over client accounts while restricting server-wide access. Working within those constraints, rather than trying to bypass them, is what keeps your hosted sites and your clients’ data safe.

What are the best practices for creating and assigning hosting packages?
A hosting package in WHM is a named set of resource limits applied to a client account at creation. Resellers create and assign packages that define disk quotas, bandwidth caps, email account limits, and more. Getting this right at the start saves you from manually adjusting individual accounts later.
WHM distinguishes between three package types, and knowing the difference matters:
| Package type | Created by | Visible to reseller? |
|---|---|---|
| Root packages | Server owner (root) | Only if granted via ACL |
| Reseller packages | You (the reseller) | Always visible |
| Global packages | Server owner, shared | Only with “viewglobalpackages” ACL |
Packages linked to your reseller username are always visible in your WHM. If your hosting provider has created global packages for shared use, you will only see them if the “viewglobalpackages” access control list (ACL) permission has been granted to your account. Ask your provider explicitly if you need access to those packages.
When designing your own packages, think in tiers rather than one-size-fits-all. A starter package might include 5 GB disk, 50 GB bandwidth, and 10 email accounts. A business package might offer 20 GB disk, unlimited bandwidth, and 50 email accounts. Naming packages clearly (for example, “Starter,” “Business,” “Agency”) reduces confusion when onboarding clients and makes upselling straightforward. Avoid setting limits so tight that clients hit them within weeks. Hitting a disk or bandwidth cap is the fastest way to generate a support ticket and erode client trust.
How to manage client support and automate reseller dashboard settings?
A well-configured reseller dashboard reduces the volume of support requests you receive and makes your service feel professional from day one. Reseller dashboard management covers sections including Styling, Integrations, SMTP Email, Theme, and Voucher Codes. Each of these has a direct impact on how clients experience your service.
Key areas to configure when setting up your dashboard:
- Styling and theme: Apply your brand colours, logo, and typography so clients see your business, not the underlying platform. White-label reseller setups are standard practice for agencies. For a detailed look at how this works, the agency guide to white-label hosting covers the full setup process.
- SMTP email settings: Dashboard customisation includes SMTP email integration for sending transactional messages like account creation confirmations and password resets. Configure this with a dedicated sending address rather than a generic platform default.
- Voucher codes: Generate voucher codes to activate client accounts or offer promotional discounts. This is particularly useful if you sell hosting packages through a website or at events, as it removes the need for manual account provisioning.
- Menu item customisation: Remove modules your clients do not need. A client running a simple WordPress site does not need access to DNS zone editors or raw log files. Hiding irrelevant options reduces confusion and support overhead.
Pro Tip: Set up a canned response library for your five most common support queries before you onboard your first client. Responding to “how do I set up email?” in 30 seconds rather than 10 minutes is the difference between a client who refers you and one who churns.
Automation at the dashboard level compounds over time. Every hour you save on repetitive configuration is an hour you can spend acquiring new clients or improving your service offering.
How to maintain security and keep your reseller account updated?
Security is the area where reseller account management most directly affects people beyond yourself. Every client account you host sits on the same server infrastructure, which means a vulnerability in one account or in WHM itself can cascade across your entire client base.
A recently identified vulnerability, CVE-2026-41940, permits session bypass attacks to WHM, threatening the server and multiple hosted sites simultaneously. This is a clear reminder that unpatched WHM installations are not just a risk to you. They are a risk to every client you host.
The practical response to this kind of threat involves four disciplines:
Access control: Restrict WHM login to known IP addresses wherever your hosting provider allows it. Two-factor authentication on all WHM and cPanel accounts is non-negotiable. Review which staff or contractors have reseller-level access quarterly and revoke anything that is no longer needed.
Patching cadence: Apply WHM and cPanel updates as soon as they are released. Most hosting providers offer automatic updates for minor releases. Enable these and monitor for major version updates that require manual review. The benefits of managed hosting include having a provider handle patching on your behalf, which is worth considering if your technical capacity is limited.
Privilege audits: Review reseller privilege settings every six months. Businesses change, staff turn over, and privileges granted for a specific project often outlive their purpose. An audit takes 20 minutes and can prevent a significant incident.
Incident response: Know what you will do before something goes wrong. Have a contact at your hosting provider saved, know how to suspend a compromised account in WHM, and have a client communication template ready. Clients who receive a clear, prompt explanation of an incident are far more likely to stay than those who find out through a Google search.
Key takeaways
Effective reseller hosting management requires the right privilege configuration, well-structured packages, and consistent security maintenance to protect both your business and your clients.
| Point | Details |
|---|---|
| Use WHM and cPanel together | WHM handles account administration; cPanel manages individual site environments for clients. |
| Avoid “All Features” privilege | Enabling this setting overrides resource limits and exposes all server accounts to risk. |
| Design tiered hosting packages | Create named packages with clear resource limits to simplify onboarding and reduce support requests. |
| Customise your reseller dashboard | Configure SMTP, branding, and menu items to deliver a professional, white-label client experience. |
| Patch and audit regularly | Apply WHM updates promptly and review privilege settings every six months to close security gaps. |
Where most resellers get it wrong
After working with reseller hosting setups across dozens of small businesses and agencies, the pattern I see most often is not technical incompetence. It is overconfidence in defaults. People set up a reseller account, leave the privilege settings at whatever the provider configured, create one package called “Standard,” and wonder why they are spending three hours a week on support tickets.
The second most common mistake is treating security as a one-time task. You configure two-factor authentication on day one and never look at it again. Then six months later a contractor who left the business still has WHM access, or a critical patch has been sitting unapplied for three weeks because automatic updates were never enabled.
What actually works is treating your reseller account like a small business system rather than a set-and-forget tool. Quarterly privilege reviews, tiered packages that match what clients actually need, and a dashboard configured to reduce friction. None of this is complicated. It just requires the discipline to do it before a problem forces your hand.
The resellers I have seen build genuinely profitable operations are the ones who invest an extra two hours in setup and save twenty hours a month in ongoing management. That ratio holds consistently, regardless of how many client accounts they are running.
— James
Ready to grow your reseller hosting business?
Com offers Australian-based web hosting solutions built for resellers and small businesses who want reliable infrastructure backed by local support. Whether you are setting up your first reseller account or scaling an existing client base, the team at Com understands the specific challenges of the Australian market.
Com also provides domain management services that integrate directly with your reseller hosting setup, so you can handle both hosting and domain administration from a single provider. If you want personalised guidance on configuring your reseller account or choosing the right hosting tier, reach out to the Com team directly. Local support, no runaround.
FAQ
What is a web hosting reseller account?
A web hosting reseller account lets you purchase hosting resources from a provider and sell them to your own clients under your brand. You manage client accounts through WHM and cPanel without holding root server access.
How do I access WHM as a reseller?
Log in to WHM using the credentials provided by your hosting provider. Your interface will show a limited set of features compared to a root account, controlled by the privileges your provider has assigned.
What privileges should I avoid granting resellers?
Never enable the “All Features” setting for a reseller account. This overrides resource limits and grants access to all accounts on the server, creating a significant security risk.
How do hosting packages work in WHM?
Packages define the resource limits applied to a client account, including disk quota, bandwidth, and email accounts. Resellers assign packages at account creation and can modify them later through WHM.
How do I keep my reseller account secure?
Enable two-factor authentication on all WHM and cPanel accounts, restrict WHM access to known IP addresses, apply updates promptly, and audit reseller privileges every six months. For small businesses with limited technical capacity, managed hosting services can handle patching and security monitoring on your behalf.
Leave a Reply